
Last updated October 9, 2026
Free roof inspection with deck photos before we talk money - GAF and Owens Corning certified installation
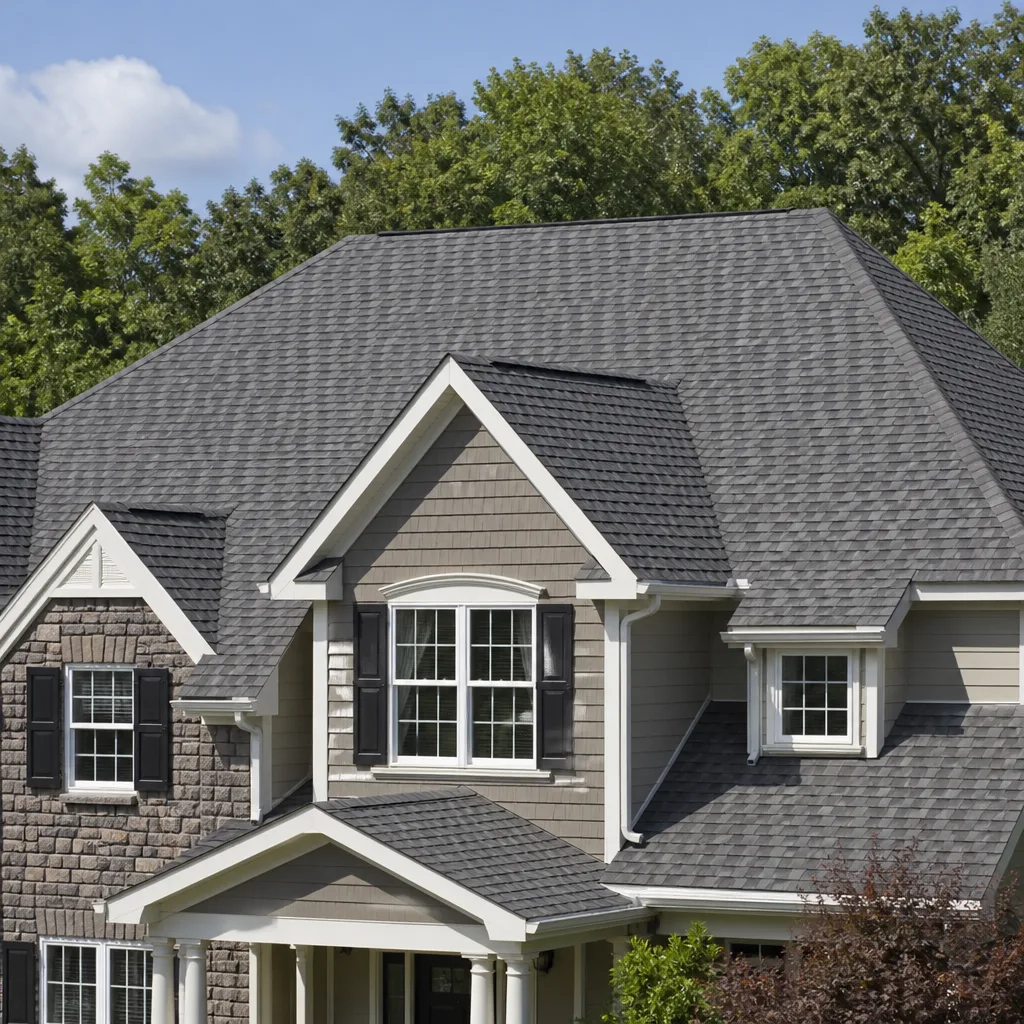
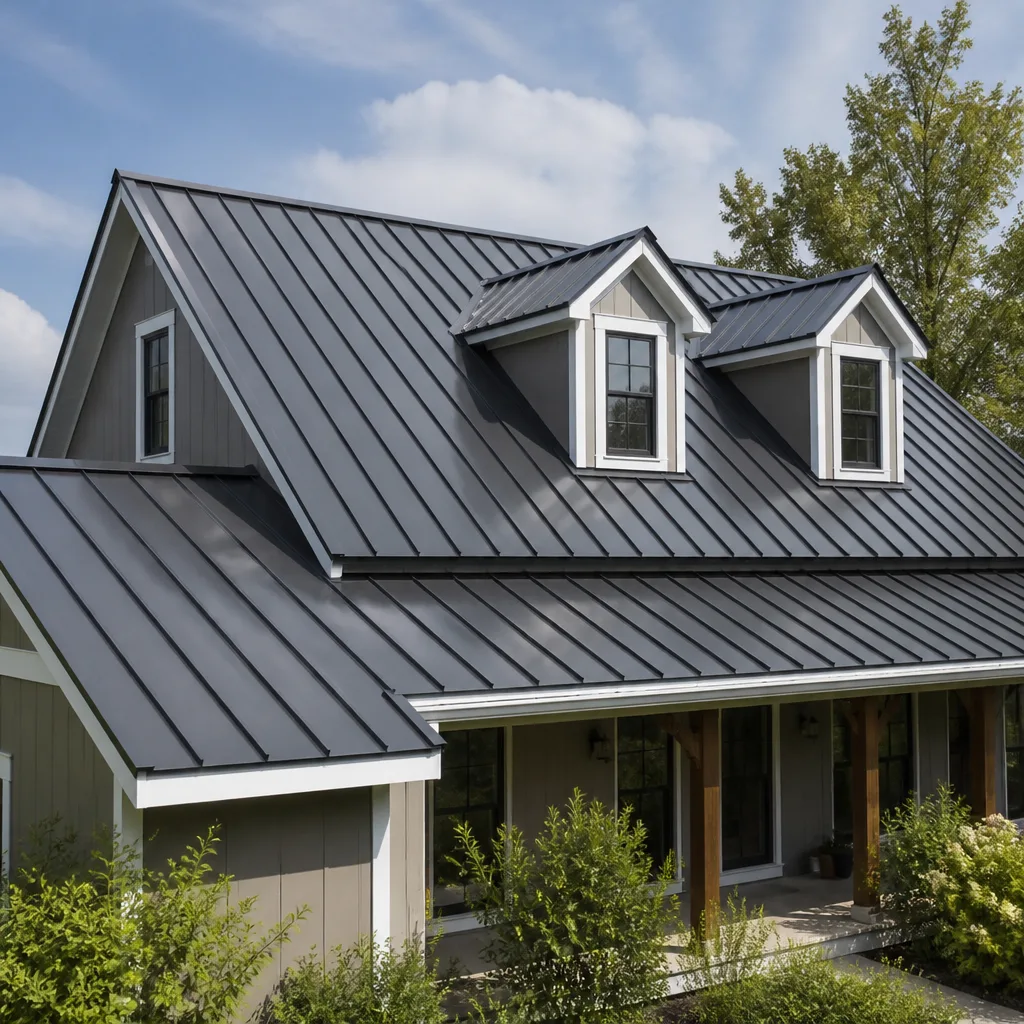
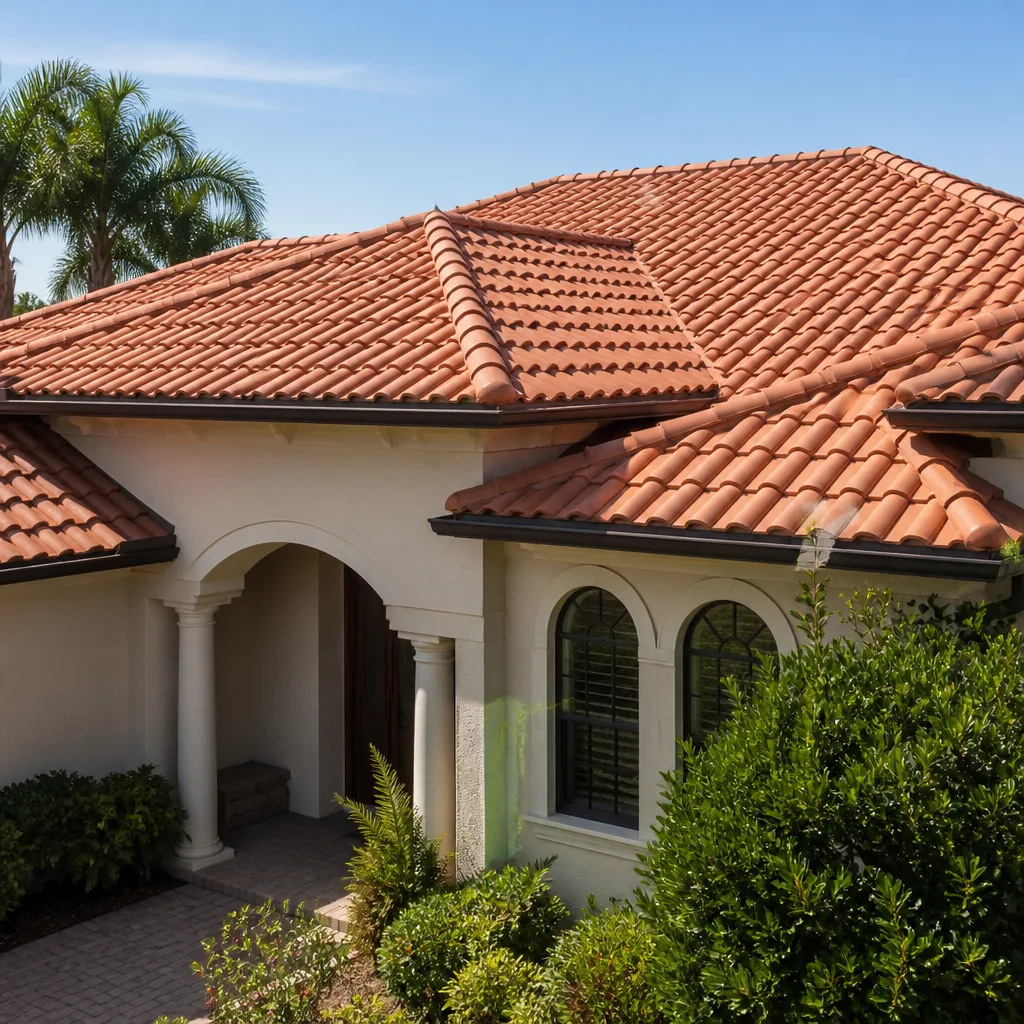
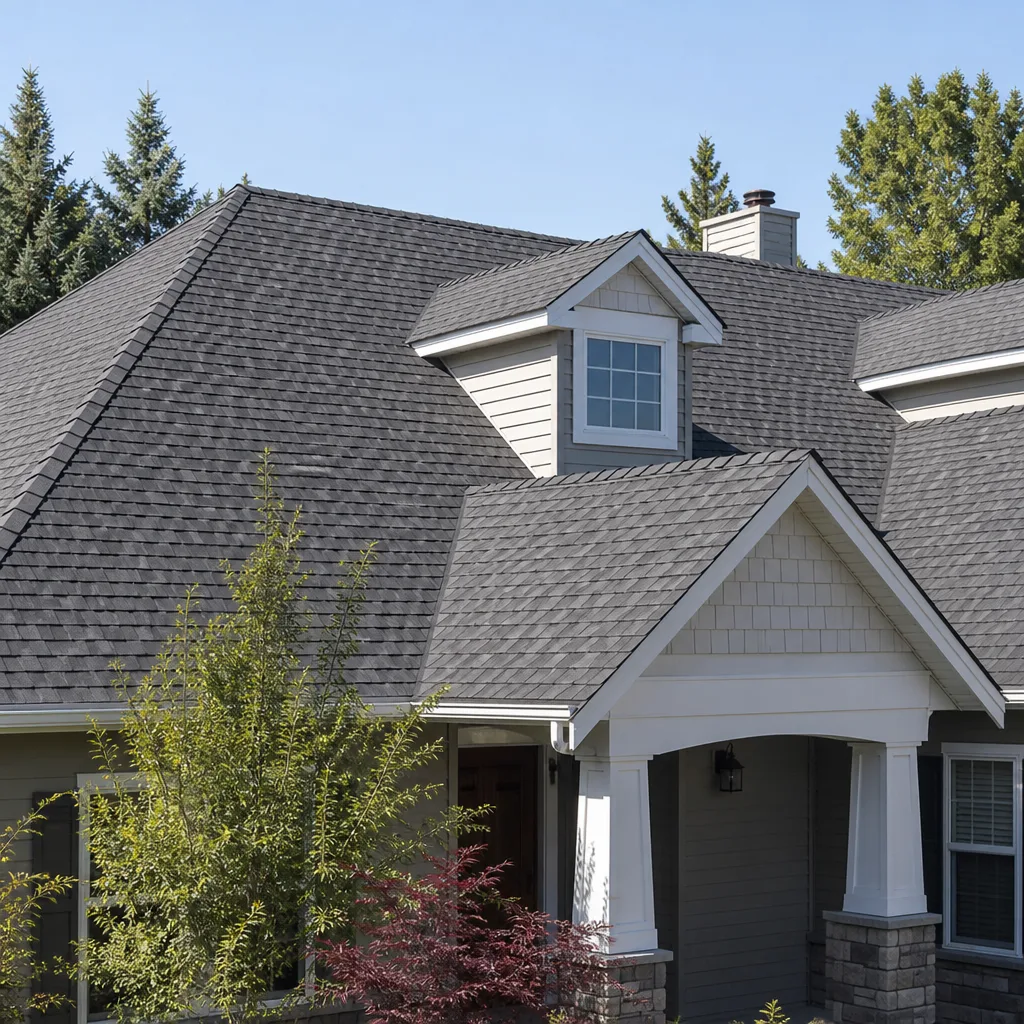
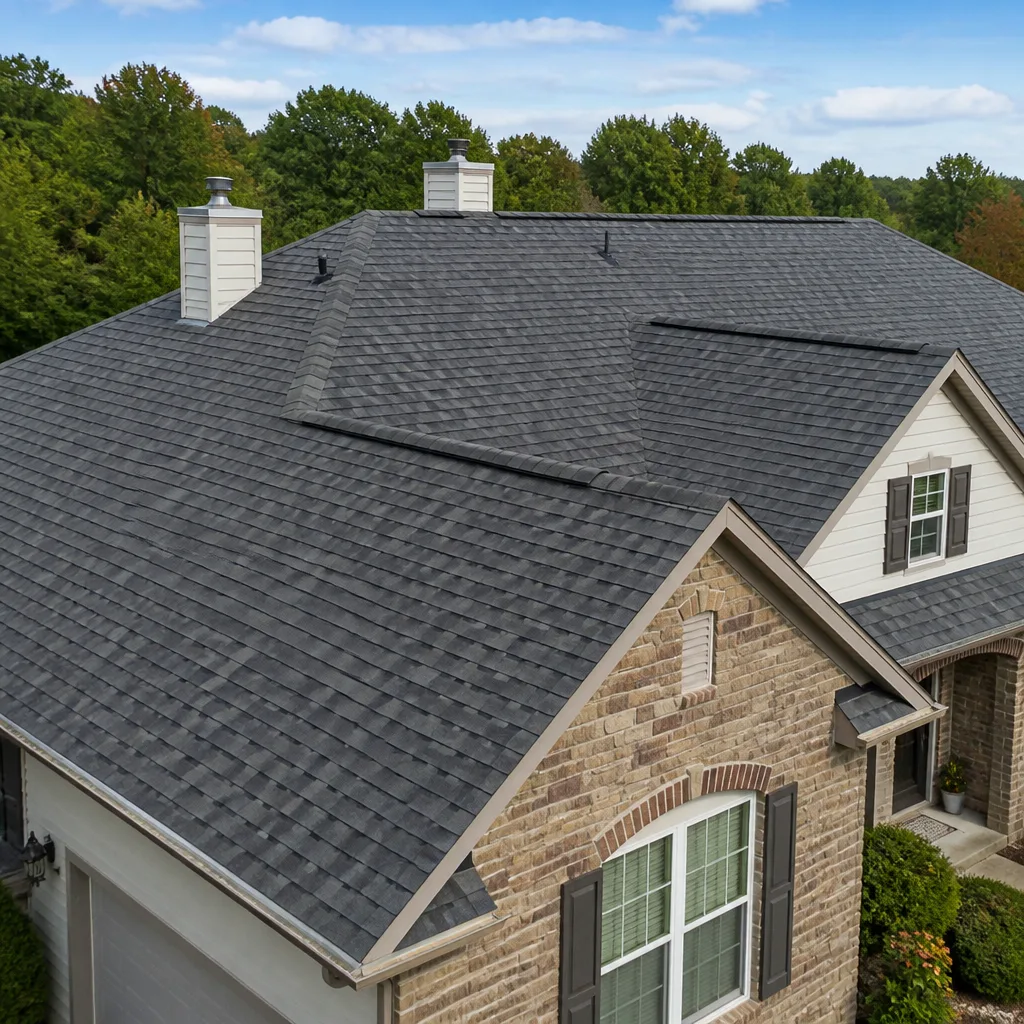
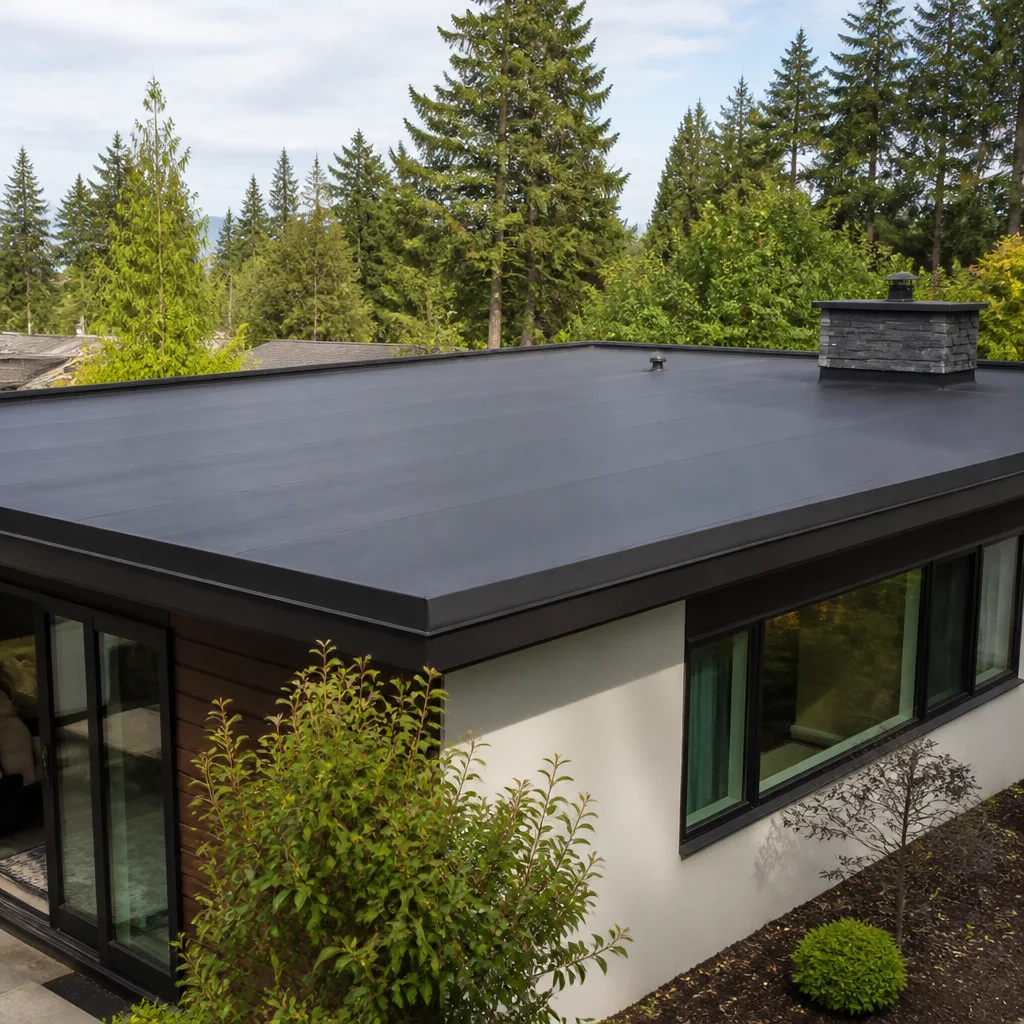
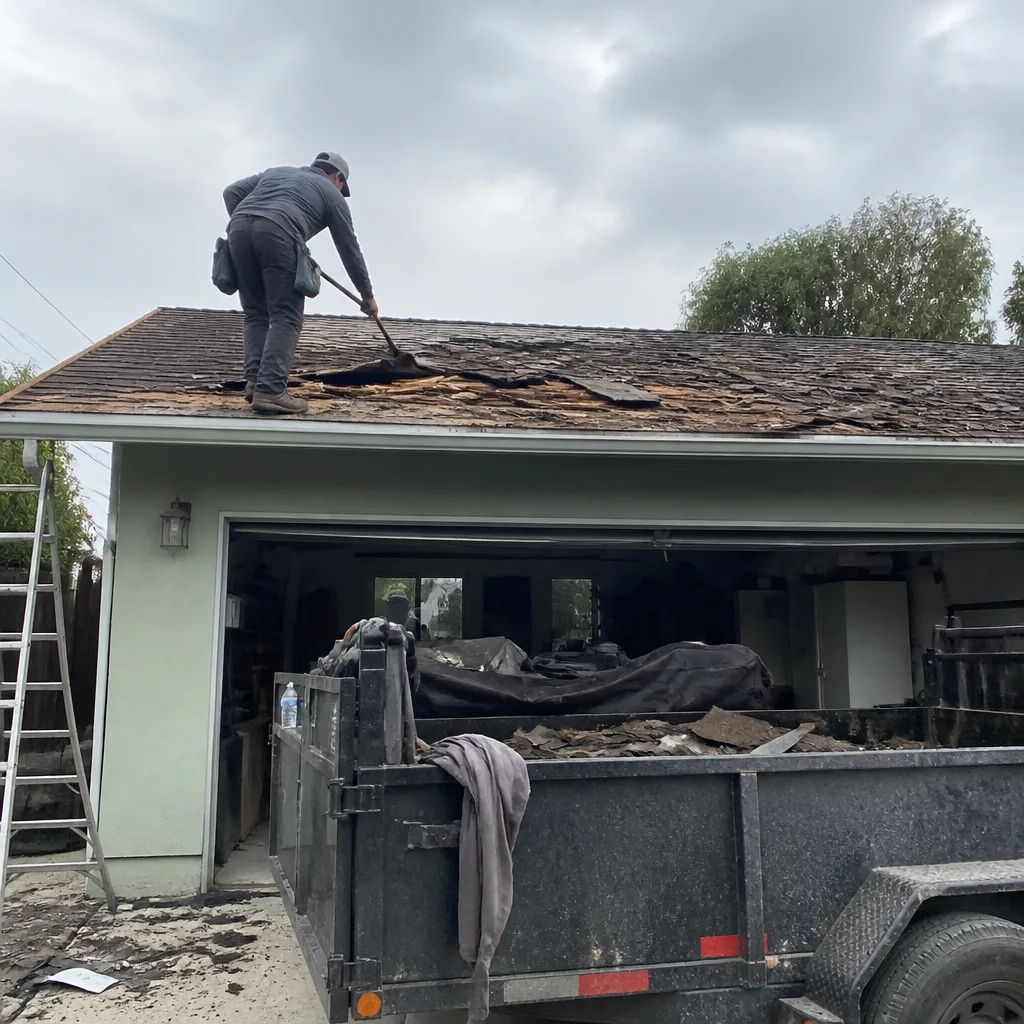 Before
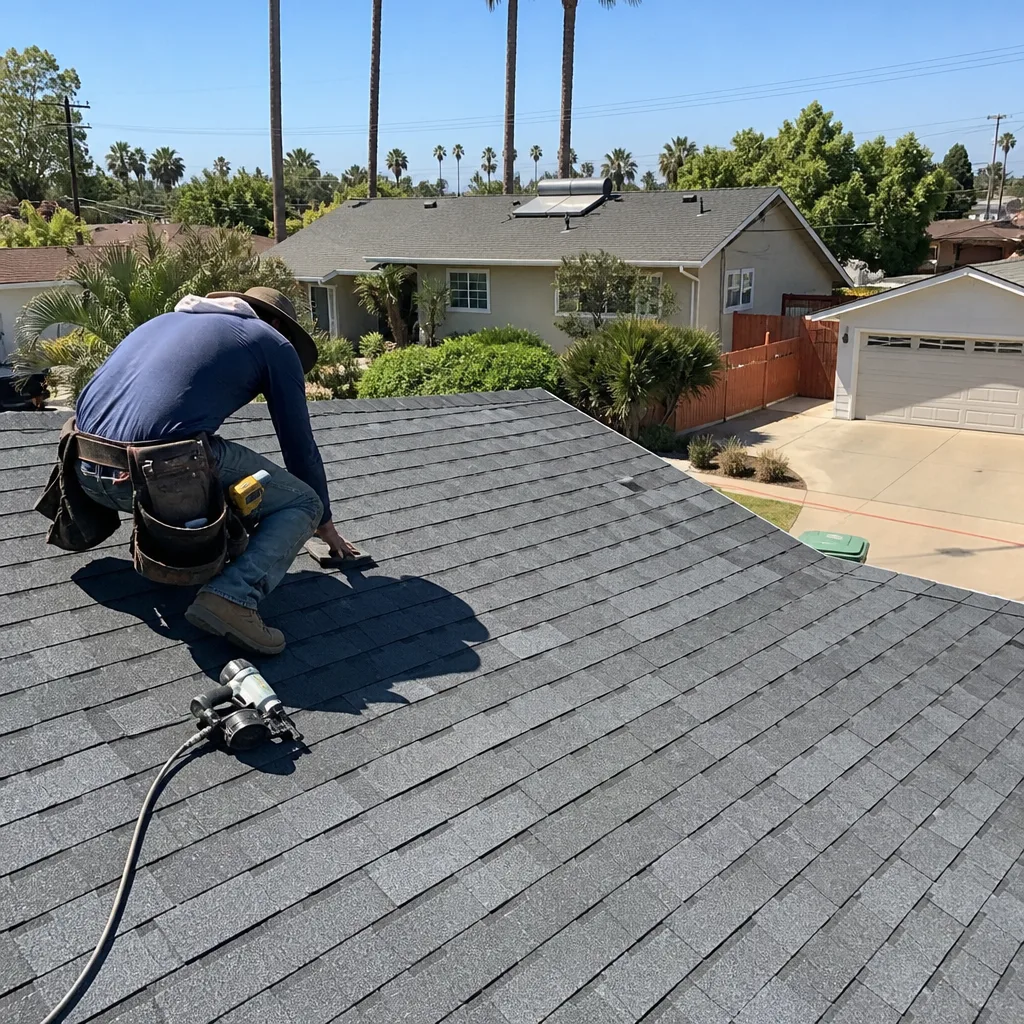 After
After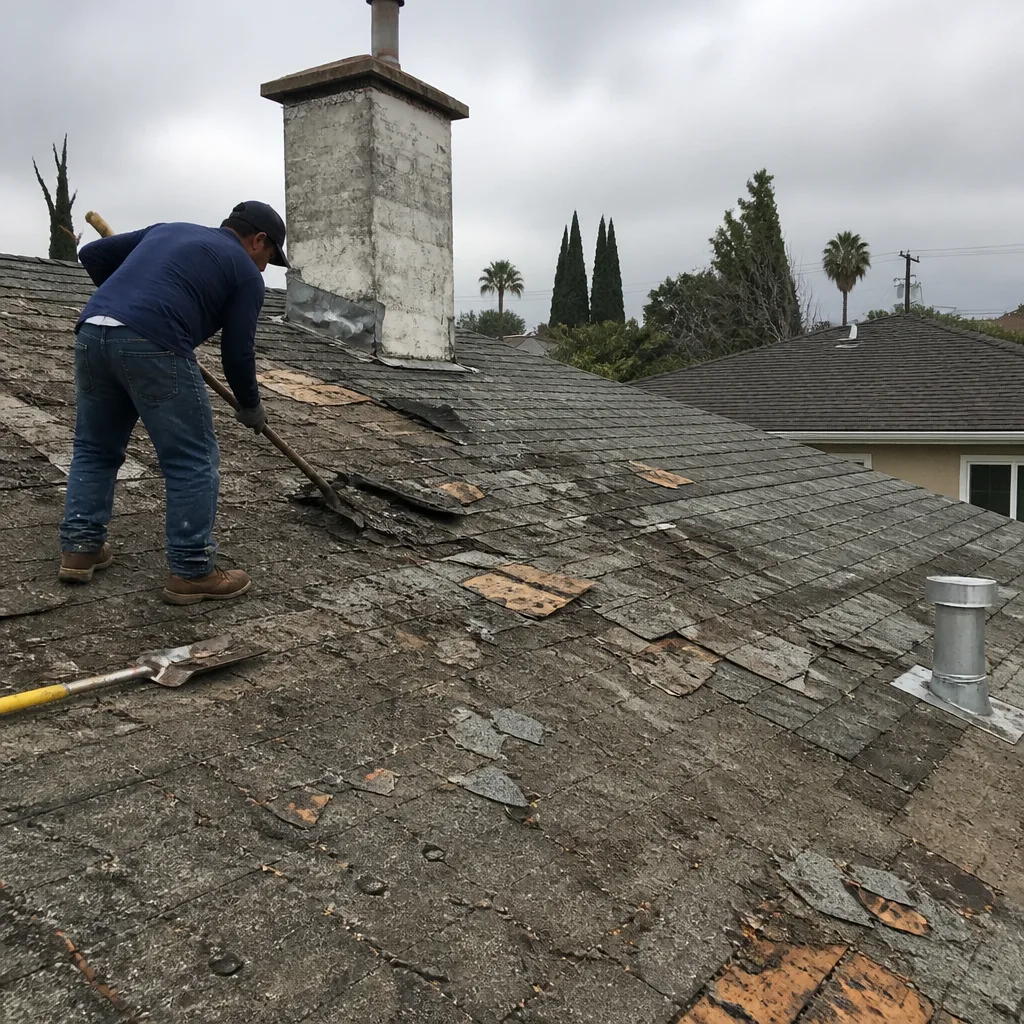 Before
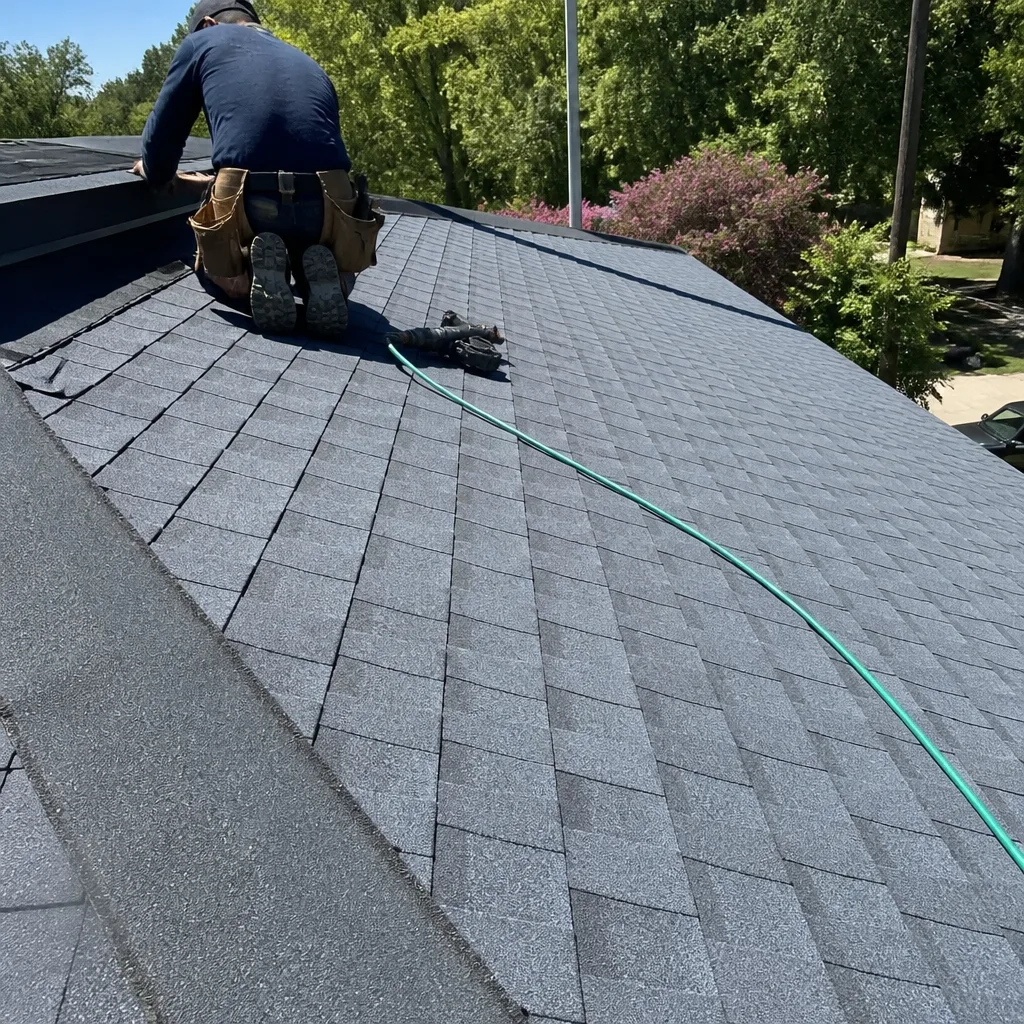 After
After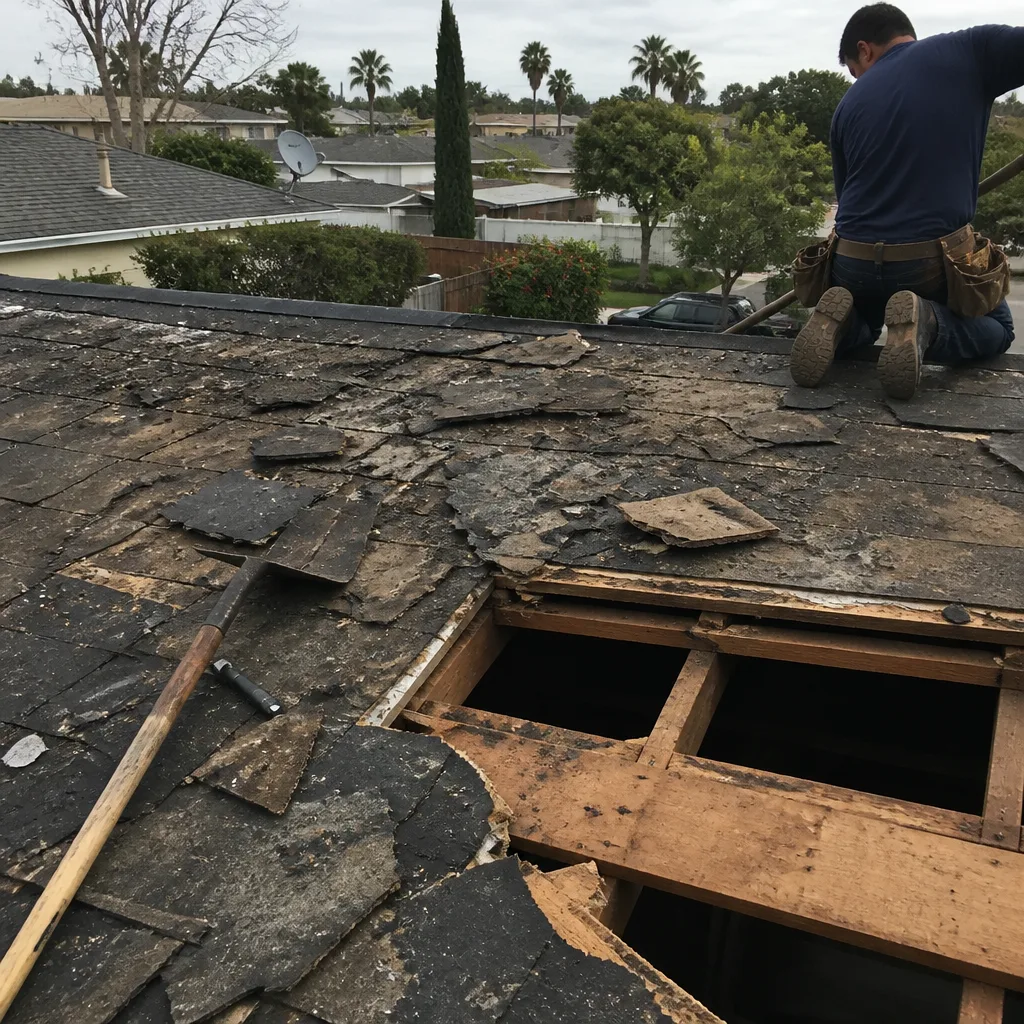 Before
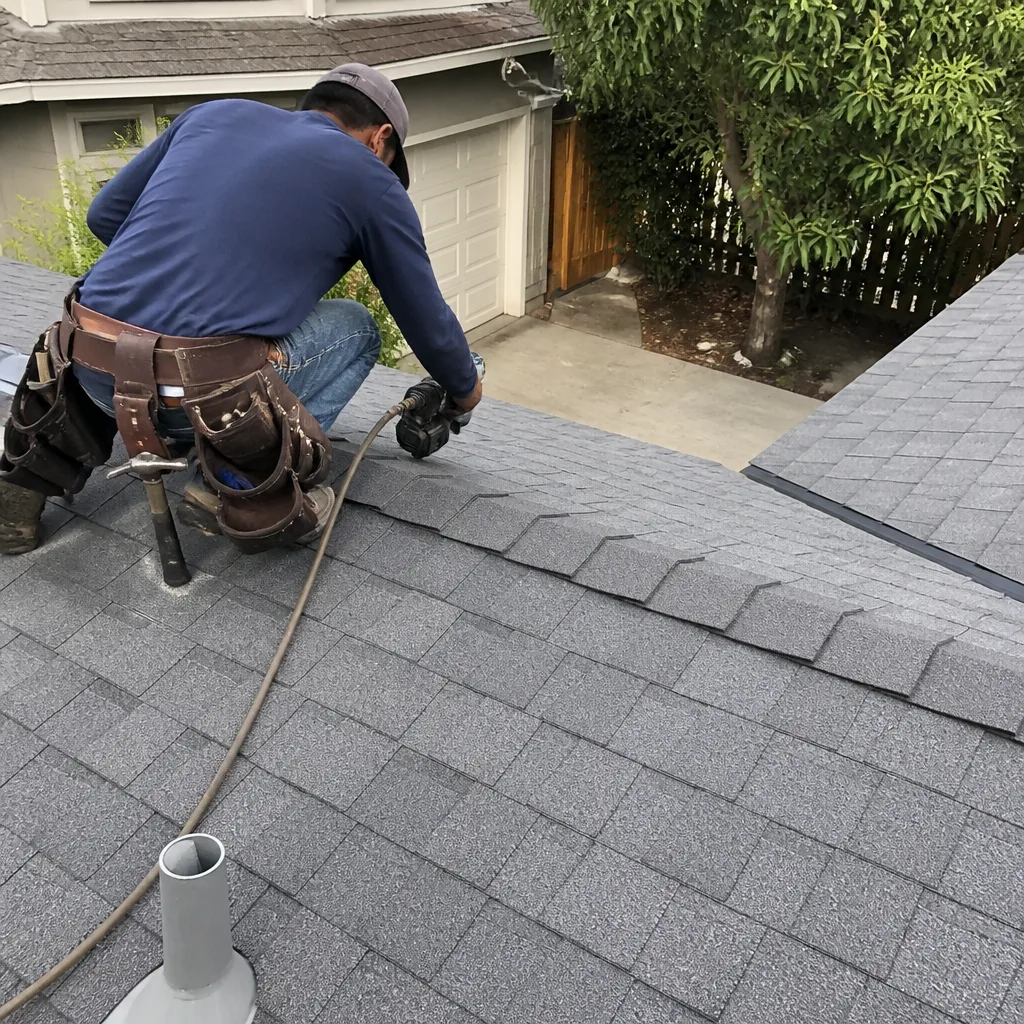 After
AfterDIY vs Professional Roof Inspection: What’s Safe to Do Yourself
A 4:12 pitch asphalt shingle roof is a place a careful homeowner can safely stand and inspect. A 7:12 clay tile roof is a place where one misstep destroys $600 in tile and puts you in an emergency room. The roofing industry rarely draws this line clearly for homeowners, because both outcomes are bad for liability. This guide draws it precisely, so you know what’s safe to check yourself, what to leave to a trained roofer, and how to understand what you’re looking at before you spend a dollar. That matters in Los Angeles, where roof types range from flat tar-and-gravel in the Valley to steep Spanish tile in the hills, and the wrong assumption is costly no matter which one you own.
Quick Answer
You can safely inspect your roof from the ground with binoculars in most cases, and a homeowner can walk a low-slope asphalt shingle roof under the right conditions. But anything steeper than 6:12, any tile or slate surface, and any inspection that requires touching flashing, lifting shingles, or walking near the edge is professional work. A DIY inspection is for spotting obvious problems from a safe position. A professional Roof Inspection is for finding the early-stage failures that a homeowner almost never catches from the ground.
Table of Contents
- The Physics of Roof Inspection: Slope, Surface, and Safety
- What You Can See From the Ground (and What It Actually Tells You)
- What’s Safe to Do Yourself: The Low-Slope Asphalt Exception
- What a Professional Catches That You Won’t
- How to Document a DIY Finding Without Getting Up-Sold
- The Insurance Dimension: When DIY Creates Liability, When Professional Creates Protection
- What Roof Inspections Cost in Los Angeles and What You’re Paying For
- How to Choose a Roof Inspector in Los Angeles
The Physics of Roof Inspection: Slope, Surface, and Safety
The DIY versus professional question is usually framed as a money question. It’s actually a physics question. Roof slope, expressed as a ratio of rise to run, determines how much grip your shoes have and what happens if you slip. Surface material determines how fragile that grip is. Your handiness has almost nothing to do with it.
Here’s the slope-and-material matrix we use when a homeowner in Los Angeles asks us whether they should climb up themselves:
- Flat to 3:12 slope, asphalt or modified bitumen: Safe for a careful homeowner to walk, as long as the surface is dry and you stay away from edges and skylights. This is the most common roof type in the San Fernando Valley.
- 4:12 to 6:12 slope, asphalt shingles: Walkable with proper footwear, but this is where slips start to matter. If the roof is wet, mossy, or covered in loose granules, stay off it.
- 7:12 and steeper, any material: Professional only. This is the line where a misstep becomes a fall. No homeowner should be on a 7:12 roof without fall protection, and fall protection is not a ladder and a prayer.
- Clay tile, concrete tile, slate, or metal, any slope: Professional only, even on low slopes. Tile cracks under foot traffic. Slate is slick. Metal panels dent and flex, and walking on the wrong rib can separate a seam. In Los Angeles, clay tile is common in the Hollywood Hills, Pasadena, and older Spanish Revival neighborhoods, and a homeowner walking one can break $600 in tile in ten minutes.
- Flat roofs with gravel or coatings: Walkable with care, but gravel hides soft spots, and a soft spot on a flat roof can send you through the decking. Test every step.
Most homeowner injuries we hear about in Los Angeles come from two scenarios: a homeowner climbing a steep tile roof to look at a small leak, or a homeowner walking a wet asphalt roof in December. Both were unnecessary. You can assess 80% of roof condition from the ground with a pair of binoculars and a phone camera.
What You Can See From the Ground (and What It Actually Tells You)
You don’t need to be on the roof to do a meaningful inspection. You need to know what to look at, and what each thing actually tells you.
Here’s the ground-level checklist we walk our own customers through, and it works for any roof type in Los Angeles:
- Missing or lifted shingles. Walk the perimeter of the house and look for shingles that are curled, cracked, or gone. In Los Angeles, the sun is the primary cause of shingle failure, not rain. Shingles that curl at the corners are telling you the asphalt is drying out, and the roof is in its last two to four years.
- Granule loss. Look at the gutters and downspouts. If they’re filling with dark granules that look like coarse sand, the shingles are shedding their protective layer. This is normal in the first year and in the last five years. If it’s happening in between, something is wrong.
- Flashing at chimneys, vents, and walls. From the ground you can’t see if flashing is sealed, but you can see if it’s visibly rusted, bent, or missing. Rusted flashing around a chimney in Los Angeles is common, especially in older homes in Echo Park and Silver Lake, and it’s a leak waiting for the next winter rain.
- Valleys. Valleys are where two roof planes meet and where water concentrates. With binoculars, look for debris piles, exposed underlayment, or shingles that have shifted out of the valley line. A clogged valley is a leak source even on a young roof.
- Sagging. Step back and sight along the roofline. A roof should read as straight lines. A dip or wave tells you the decking underneath has been wet for a while. This is structural, not cosmetic.
- Stains on ceilings and walls inside. The interior of the house is part of the roof inspection. Water stains on ceilings, especially around chimneys, vents, or exterior walls, tell you where water is getting in. Take photos.
One note: binoculars work best in the morning or late afternoon, when low-angle light casts shadows that make texture and damage easier to see. In Los Angeles, doing this in August at noon is a fast way to miss things and give yourself heat exhaustion.
What’s Safe to Do Yourself: The Low-Slope Asphalt Exception
If you have a low-slope asphalt shingle roof, ideally 4:12 or flatter, and it’s bone dry, walking it can be reasonable. Here’s how to do it without creating the problem you’re trying to find.
- Use a stable ladder and have someone hold it. Set the ladder on level ground, extend it three feet past the eave, and have another adult foot it. This is not a solo activity.
- Wear soft-soled shoes with good grip. Hard soles and dress shoes are both hazards on asphalt shingles.
- Walk on the balls of your feet and stay on the shingle tabs, not the edges. Don’t step on the seam lines. Walk like you’re trying not to wake someone.
- Never step on anything that isn’t shingle. Not the flashings, not the vents, not the skylights, not the gutters. Every one of those can bend, crack, or separate under body weight.
- Stay three feet back from every edge. The edge of any roof is the most dangerous place to be. If you need to inspect the edge, do it from the ground.
- Get down the moment you feel unsure. Discomfort is information. A roof inspection is not a test of nerve.
What you’re looking for up close: cracked or brittle shingles that didn’t read from the ground, exposed nail heads where shingles should overlap, and caulking or sealant around penetrations that has dried and separated. In Los Angeles, this drying happens faster than in coastal climates. The UV load breaks down sealant and asphalt at about twice the rate you’d see in a place like Seattle.
What a Professional Catches That You Won’t
There are three things a professional roofer finds on an inspection that a homeowner almost never catches, even a careful one. These are the failures that turn a $400 repair into a $12,000 reroof if they go unnoticed.
Early-stage flashing separation. Flashing almost never fails all at once. It starts with a corner lifting, a sealant bead cracking, or a nail backing out a fraction of an inch. From the ground, the flashing looks fine. Up close, with a knowledgeable eye, you can see where water will enter during the next wind-driven rain. In Los Angeles, our winter rains are often wind-driven, and they arrive after months of dry weather that has baked sealant into something brittle. This is the exact failure mode we see before most leak calls.
Sheathing moisture under intact shingles. This is the one that surprises homeowners. The shingles look fine. The roof looks fine from the street. But underneath, water has been finding its way through a small opening and wetting the plywood decking. By the time the ceiling stains, the decking is rotting and the repair has multiplied. A professional inspection can catch this with a moisture meter and a trained eye for the subtle signs: slight softness underfoot, a faint stain on the underside of the decking visible from the attic, a section of shingles that looks just a little too flat.
Improper fastener patterns. This is a workmanship issue that matters most after a reroof. Shingle manufacturers specify exactly how many nails go in each shingle and where. Too few nails, nails in the wrong place, or nails driven at the wrong angle can void the manufacturer’s warranty and shorten the roof’s life. We’ve seen roofs in Los Angeles that were four years old and already failing because every shingle was nailed in the wrong pattern. A homeowner can’t see this from the ground and usually can’t identify it up close either. It takes experience with manufacturer specs, including CertainTeed and Owens Corning installation requirements, to spot it.
These three failure modes are the reason a professional inspection exists as a service. It’s not about pointing out missing shingles. It’s about finding what’s about to fail before it does.
How to Document a DIY Finding Without Getting Up-Sold
You did a ground-level inspection or a careful walk on a safe roof, and you found something. Now you’re calling roofers, and you want to avoid getting sold a full reroof when all you need is a repair. The difference between a useful call and an expensive one is documentation.
Here’s how to document a finding so you can describe it accurately and hold a roofer to what you actually observed:
- Take photos from multiple angles. Use your phone. One wide shot for context, one close shot of the damage. If you can, put a dollar bill or a car key in the close shot for scale. A roofer who can see the photo before they arrive can bring the right materials.
- Note the exact location. Don’t say “the back of the house.” Say “north-facing slope, twelve feet in from the east edge, about three feet above the gutter line, under the second vent.” Precision forces precision in return.
- Describe what you see, not what you think it means. Say “two shingles are lifted and I can see the edge of the underlayment.” Don’t say “the roof is failing.” A good roofer diagnoses from observation, not from your conclusion.
- Ask for a photo of the problem when the roofer is on the roof. A roofer who says they found damage should be able to show you a photo of it. In our experience, the roofers who push back on this are the ones manufacturing damage.
- Get the repair scope in writing, item by item. Before any work starts, the price and the scope should be on paper. Not a verbal “we’ll see when we get up there.” At Brennan Roofing, that’s the standard on every job: a written price before any work begins, with no change at the door. If a roofer won’t do that, that’s information.
The goal is to speak a roofer’s language without learning to be a roofer. Specific, observable, documented. That’s what protects you from the up-sell.
The Insurance Dimension: When DIY Creates Liability, When Professional Creates Protection
This is the part most guides skip, and it’s the part that can cost you real money in Los Angeles, where homeowners insurance companies have been tightening their inspection standards since the wildfire seasons.
Here’s the distinction that matters. A DIY inspection that results in you walking on your roof and causing damage is on you. Insurance won’t pay for tile you broke by walking on it, and if you fall, your medical claim is filed against your own health insurance, not anyone else’s liability. You accept the full risk of your own inspection.
But there’s a second dimension, and it cuts the other way. Insurance companies increasingly ask for documentation of roof condition before writing or renewing a policy. A professional inspection report, dated and signed by a licensed roofer, is documentation you can submit. It creates a paper trail that says the roof was in condition X on date Y. If a claim comes later, that documentation works for you. It’s the difference between your word and a dated record from someone who does this for a living.
A DIY inspection, no matter how thorough, doesn’t carry that weight. Your photos and notes are good for hiring a roofer. They are not documentation an adjuster will rely on. If your insurer requires an inspection, which is increasingly common for roofs over 15 years old in Los Angeles, get a professional one. The cost is a fraction of the premium increase or the denied claim that comes without it.
And one liability note if you hire someone: make sure the roofer you hire is licensed and insured. In California, roofing contractors must hold a C-39 license. Every technician we send to a Los Angeles roof is background-checked and in uniform, and the company carries the insurance coverage a professional inspection requires. An unlicensed inspector on your roof is a liability to you, not just to themselves.
What Roof Inspections Cost in Los Angeles and What You’re Paying For
Homeowners should not have to call just to get a ballpark. Here are the numbers, straight.
A standalone roof inspection in Los Angeles typically runs between $150 and $450, depending on roof size, roof type, and whether it’s a single-story or multi-story structure. Some roofing companies fold the inspection cost into the repair estimate if you hire them for the work. Others, like ours, provide inspection as part of the estimate process when we’re already coming out to price work.
What you’re paying for with a professional inspection:
- Time on the roof. A real inspection takes 45 minutes to two hours, depending on the roof. A roofer who spends ten minutes and hands you a quote hasn’t inspected anything.
- Documentation. Written findings, photos, and a dated report. The paper is part of the product.
- Judgment. The ability to tell the difference between normal wear and pending failure, between a cosmetic issue and a water intrusion risk. This is the thing you can’t learn from a YouTube video.
Repair costs in Los Angeles, for reference, are the number most homeowners actually want. A shingle repair runs $250 to $600 depending on scope. Flashing repair runs $300 to $800. A section of decking replacement runs $400 to $1,000. A full reroof in Los Angeles on an average single-family home runs $12,000 to $28,000 depending on size, slope, and material. The inspection exists, in part, to keep you out of the last category.
If a roofer quotes an inspection and then a repair that seems disconnected from anything you saw, ask to see the photo and the written scope. The price should make sense against the line items. At Brennan Roofing, the price goes on paper before any work starts, and it does not move at the door. That’s part of The Garrison Standard, and it’s the same on a $400 repair and a $25,000 reroof.
How to Choose a Roof Inspector in Los Angeles
If you’ve decided the roof is steep, the material is fragile, or the stakes are too high to DIY, the next question is who to call. We’ve built our own process at Brennan Roofing home around a standard we’d want applied to our own homes, and here’s what we’d tell a friend to look for in any roofer they consider.
License and insurance, verified. In California, check the C-39 license on the Contractors State License Board website. Don’t take a roofer’s word for it. And ask for proof of insurance. An uninsured worker on your roof is your liability.
Written price before any work starts. This is non-negotiable. A roofer who won’t put the price on paper before work begins is planning to change it. At Brennan Roofing, every job begins with a written price in hand, and nothing starts until you have that number on paper. The Garrison Code is exactly this: written price, background-checked technician in uniform inside the promised window, and a standard that doesn’t change because the roofer thinks you won’t notice.
A guarantee that means something. Every repair and installation we do is backed by the 365-Day Done Right Promise: a written guarantee for one full year, with a free return visit at no charge if the work fails within that period. If a roofer can’t state their guarantee in one sentence, clearly, with the duration and what it covers, keep looking.
A live person when you call. When a roof leaks, you don’t want a callback queue. Our phones are answered by a live person around the clock, no voicemail, no automated system. It’s a small thing until it’s the thing.
Lastly, trust your read of the person. Do they answer your questions directly? Do they volunteer the tradeoff between repair and replace without pressuring you toward the bigger check? Do they show up in a clean truck, in uniform, and act like they work for you? We source our materials from proven manufacturer lines including Atlas and IKO, and we explain choices plainly so you can decide with confidence. A roofer who can’t explain his material choices in plain English is hiding something.
For a professional inspection anywhere in Los Angeles, you can reach Roof Inspection in Los Angeles and schedule a time. We serve the whole metro area as part of the Roofing Company in Los Angeles network, and our inspection process feeds directly into the repair side at Roof Repair in Los Angeles if we find something that needs work.
Common Mistakes to Avoid
- Climbing a tile roof “just to take a quick look.” Tile breaks under foot traffic, and a broken tile is a $600 mistake in minutes on a steep Los Angeles Spanish Revival. Steep tile is professional-only, full stop.
- Doing a ground inspection and assuming you saw everything. The ground tells you about obvious failures. It tells you nothing about flashing separation, sheathing moisture, or fastener patterns. These are the failures that matter.
- Walking a roof alone. A ladder slip with no one to call is how a sprained ankle becomes a crisis. Have another adult on-site, footing the ladder, any time you go up.
- Ignoring the interior. Ceiling stains and wall discoloration are part of the roof. The first sign of many roof failures in Los Angeles appears inside the house, weeks or months after the water entered.
- Hiring based on the lowest inspection price. A $49 inspection special from a roofer you’ve never heard of is a quote-disguised-as-a-service. The cheap inspection exists to find a reason to sell you a reroof, and an unscrupulous inspector can find one on every roof.
- Not getting the report in writing. A verbal “everything looks fine” is worthless when the claim adjuster asks for documentation. Get it dated, signed, and in print.
When to Call a Professional
If your roof is steeper than 6:12, if it’s covered in tile, slate, or metal, or if you’re investigating an active leak you can’t locate, call a professional. If you need documentation for insurance, call a professional. If you bought a house and want to know what you’re actually dealing with before the first winter rain, call a professional. A DIY inspection is appropriate for stable, low-slope, asphalt shingle roofs when you’re looking for obvious wear and want to know whether to budget for repairs. Everything else is a job for someone who does this daily and carries the license and insurance to do it safely. For DIY vs Professional Roofing Company guidance on what’s safe, see our detailed breakdown. Brennan Roofing offers free estimates in Los Angeles. Call (361) 320-9467 and a live person will answer.
Frequently Asked Questions
It depends entirely on the slope and material. A dry asphalt shingle roof at 4:12 or flatter is walkable with soft-soled shoes and a stable ladder. Anything steeper than 6:12, or any tile, slate, or metal surface, is not safe for a homeowner to walk. Stay on the ground with binoculars for those roofs.
A standalone roof inspection in Los Angeles runs between $150 and $450 depending on roof size, height, and material. Many roofers fold the inspection into the estimate if you hire them for the repair. The inspection is a fraction of the cost of a leak repair that could have been caught early.
Look for missing, curled, or cracked shingles, granule buildup in gutters, visibly rusted or bent flashing around chimneys and vents, debris in valleys, sagging rooflines, and ceiling stains inside. Take photos of anything you find. Call (361) 320-9467 to discuss what you saw with a live person, not a voicemail.
A professional inspection creates documentation that supports your position with an insurer, especially for older roofs in Los Angeles where carriers increasingly require condition reports. A DIY inspection creates no documentation an adjuster will rely on, and any damage you cause while on the roof is your liability, not the insurer’s.
A meaningful roof inspection takes 45 minutes to two hours on the roof, plus documentation time. If a roofer spends ten minutes on your roof and hands you a quote for a reroof, they haven’t inspected anything. The time on the roof is what produces the written findings.
We provide inspection as part of our estimate process when we come out to price work, and every estimate includes a written line-item scope before any work starts. The price goes on paper and does not move at the door. Call (361) 320-9467 to schedule a visit.
The Bottom Line
The DIY versus professional question is not about how handy you are. It’s about the slope of your roof, the material it’s made of, and what you actually need the inspection to accomplish. A careful homeowner can meaningfully assess a low-slope asphalt roof from the ground or with a safe walk, and can document findings well enough to hold a roofer accountable. A steep tile roof is not a DIY project under any circumstances, and the failures that matter, flashing separation, hidden sheathing moisture, and bad fastener patterns, are invisible from the ground. Know where the line is, stay on the right side of it, and call a professional when the physics say you should. For more guides & resources on roofing decisions, visit our blog.
Written by Travis Oakley, Owner at Brennan Roofing, serving Los Angeles since 2000.