
Last updated October 9, 2026
Free roof inspection with deck photos before we talk money - GAF and Owens Corning certified installation
 Before
 After
After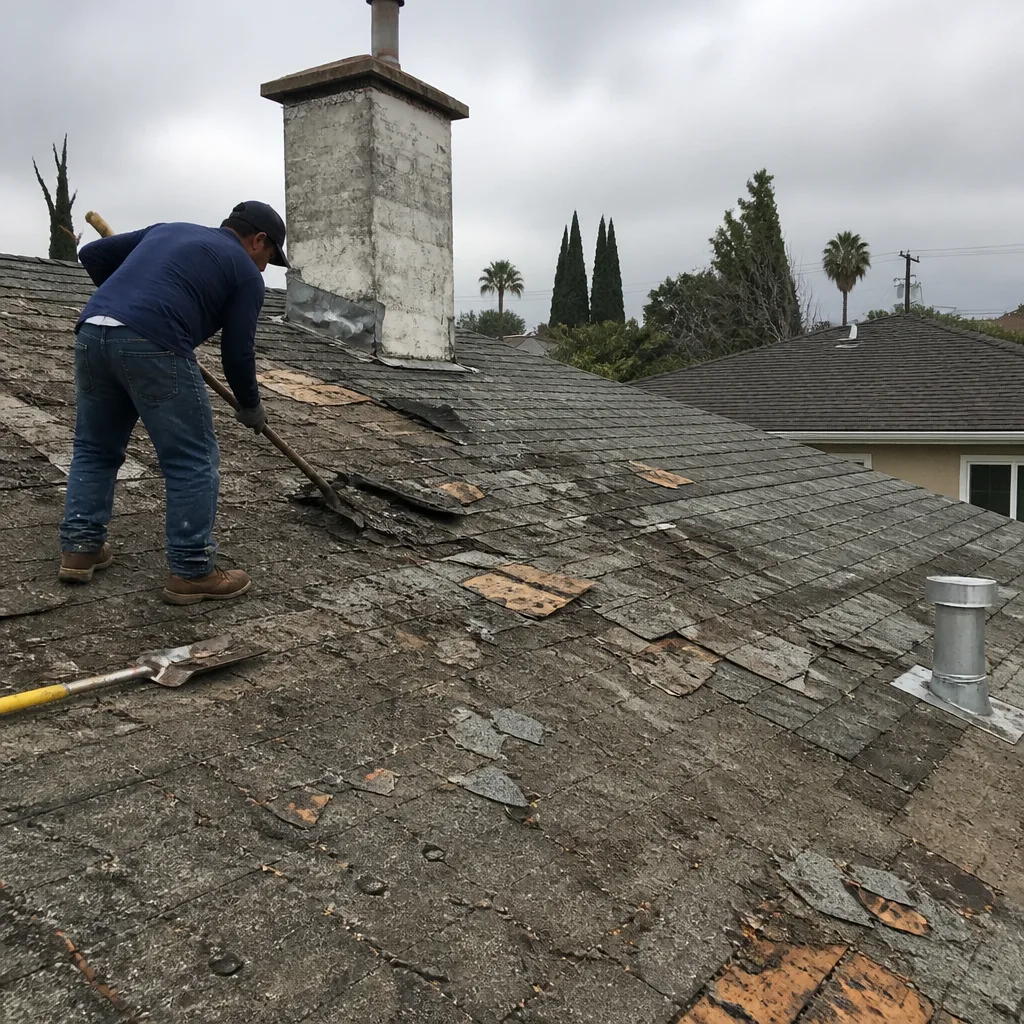 Before
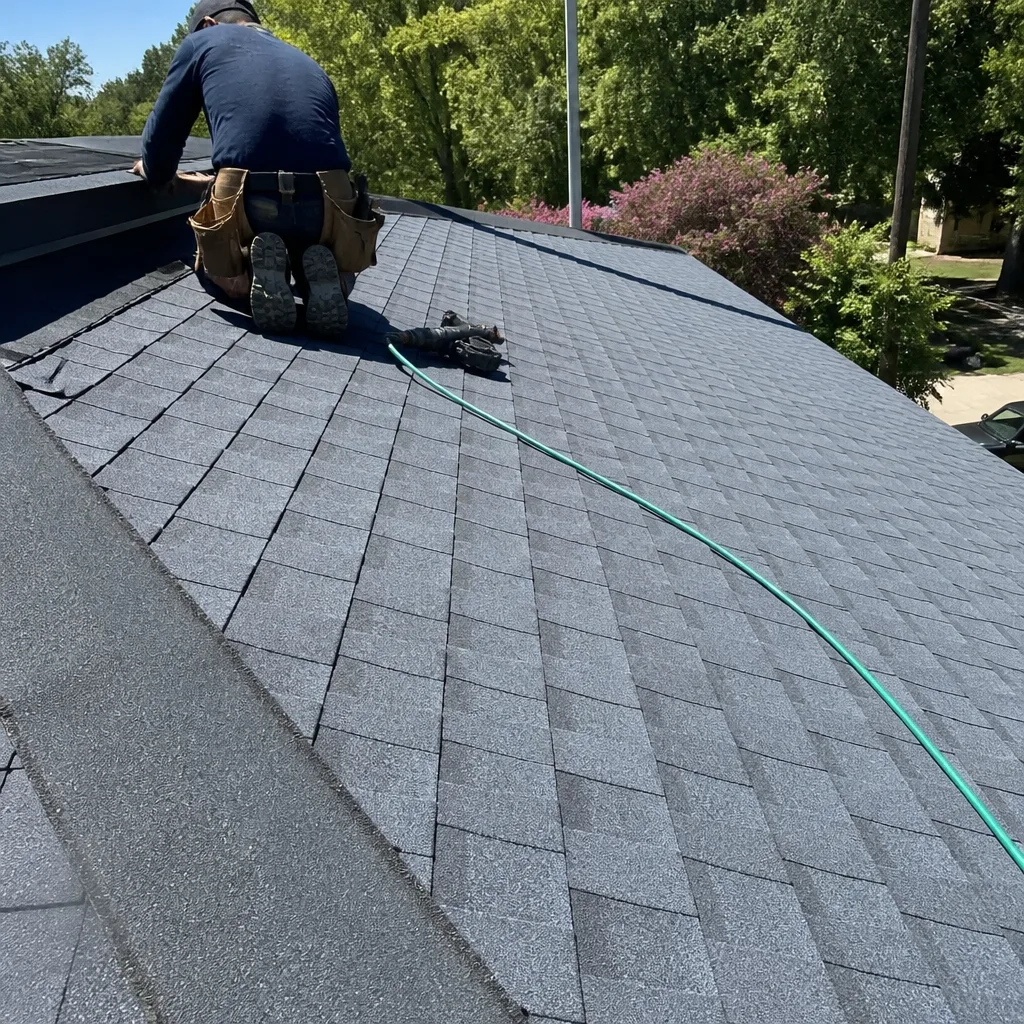 After
After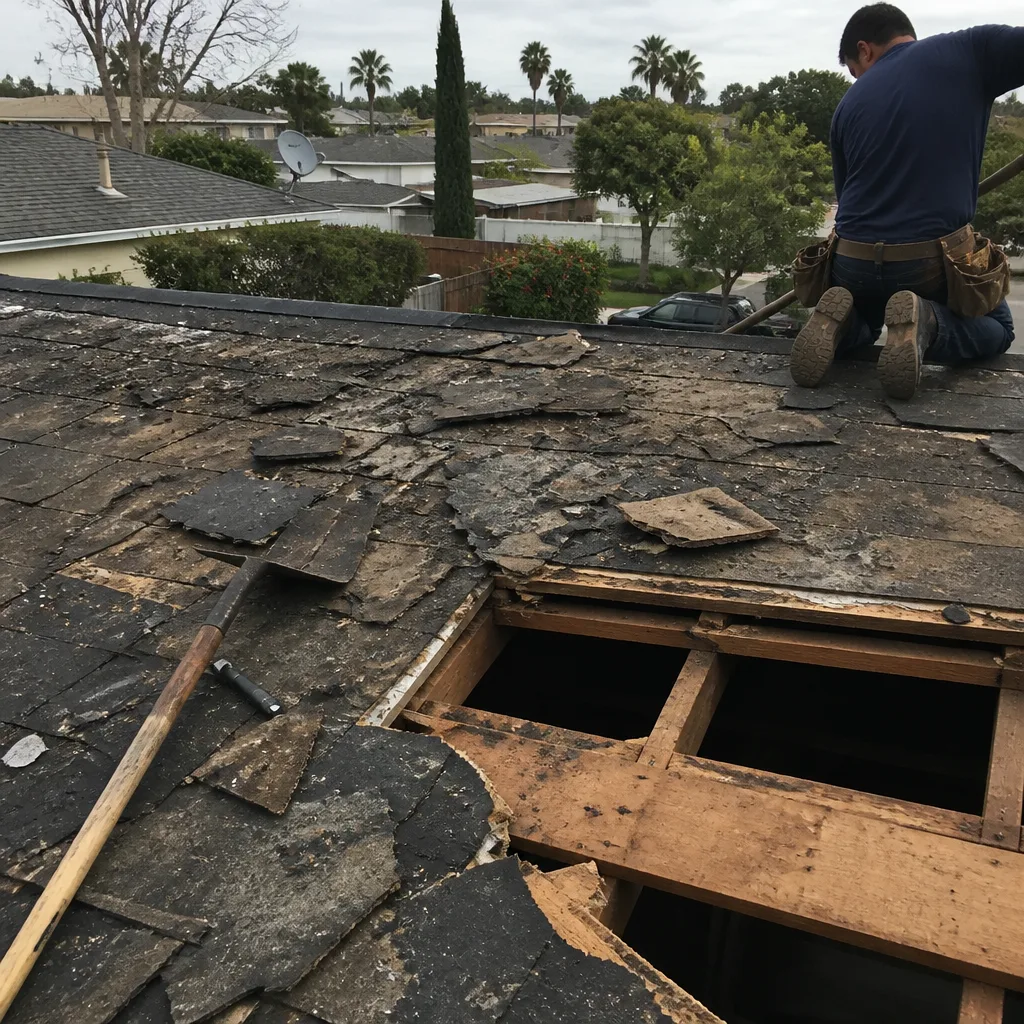 Before
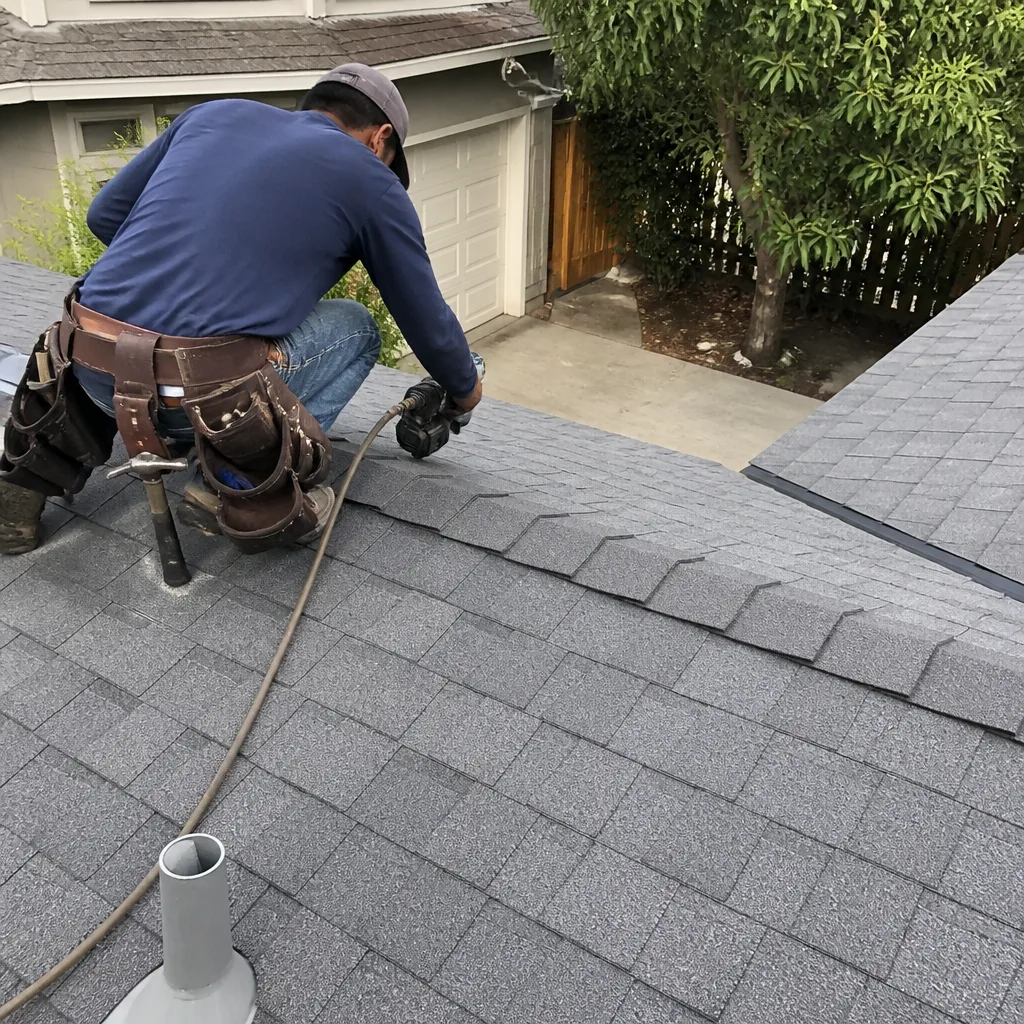 After
AfterRoof Repair Maintenance Schedule: What to Do and When
The average cost to replace water-damaged roof decking in Los Angeles runs $4 to $8 per square foot, on top of the repair above it. That’s the bill for waiting. A $300 flashing repair left alone through one wet season becomes a $3,000 decking replacement plus a re-roof. This guide gives you a concrete inspection schedule and a priority triage system so small failures get caught and fixed before they compound, written for Los Angeles homeowners who’d rather spend an hour twice a year than five figures once a decade.
Quick Answer
Our Roof Repair services follow a simple rhythm: inspect from the ground and attic twice a year (spring and fall), inspect again after any Santa Ana wind event over 40 mph, and triage every finding into one of three buckets: monitor, schedule repair within 90 days, or call a roofer within two weeks. The goal is never to let a cosmetic issue sit long enough to become a structural one. Most homeowners can do 80% of this themselves without ever stepping onto the roof.
Table of Contents
- The Biannual Inspection Schedule: Spring and Fall
- The Ground-and-Attic Checklist: What to Photograph and Date
- The Triage System: Cosmetic, Functional, Urgent
- Post-Storm Protocol: Santa Ana Wind Events
- Building a Repair Log That Protects Your Warranty
- Maintenance After a Roofer Has Done Work
- Common Mistakes to Avoid
- When to Call a Professional
The Biannual Inspection Schedule: Spring and Fall
Los Angeles doesn’t have a four-season climate, but it has two distinct stress periods for roofs. The spring check catches damage from winter rain. The fall check catches damage from summer heat and prepares the roof for the next rainy season. We recommend scheduling both inspections on fixed dates: April 1 and October 1. Anchoring to a calendar date means you’ll actually do it, not just intend to.
The spring inspection matters because Los Angeles gets most of its rain between November and March. By April, any water intrusion has already happened. You’re looking for the evidence: water stains on ceiling drywall, damp insulation in the attic, lifted shingles, clogged drains that backed up during storms, and displaced tiles. Spring is also when trapped moisture begins to dry out, and dry rot in decking or fascia becomes visible as discoloration or crumbling wood.
The fall inspection is about preparation. You’re checking for heat damage from summer: cracked or curled shingles, separated flashing at chimneys and vent pipes, dried-out sealant around roof penetrations, and any gaps at the roof edge where birds or rodents might enter. Fall is also the time to clear gutters and drains before the first heavy rain turns leaf debris into a dam. In Los Angeles, the first real rain typically arrives in November, and every year we see a rush of calls in the first two weeks of the first storm. The homeowners who inspected in October don’t call us in a panic. They call us on their schedule.
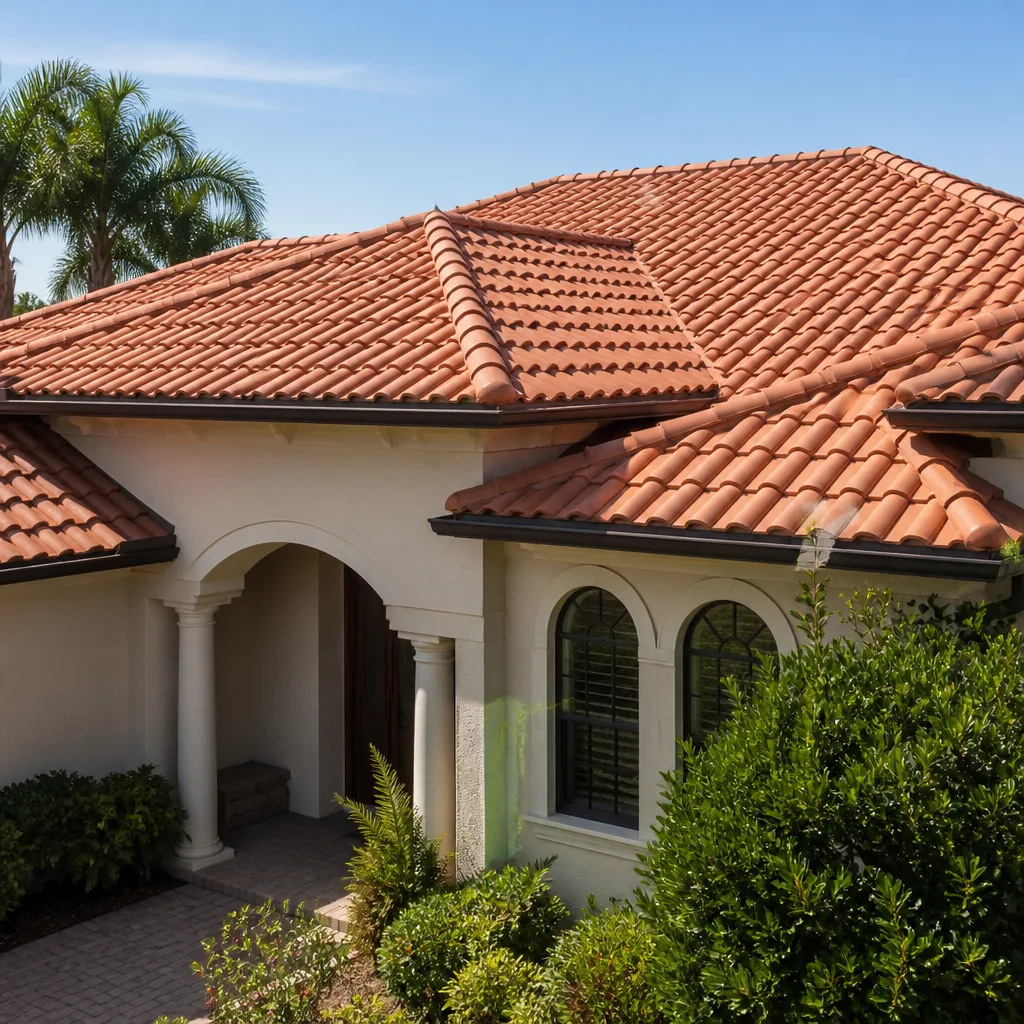
If you have a tile roof, add one more check in late summer. Tile is heavier and less flexible than shingle, and the repeated expansion and contraction of a hot Los Angeles summer can crack tiles or shift them slightly. A shifted tile lets water run sideways instead of down, and that water ends up somewhere it shouldn’t.
The Ground-and-Attic Checklist: What to Photograph and Date
You don’t need to go on the roof to inspect it. In fact, we tell homeowners to stay off the roof entirely. Walking on a roof causes damage, and walking on a wet or steep roof causes injuries. Everything on this checklist can be done from the ground with binoculars or a phone camera with optical zoom, plus one trip into the attic.
From the ground, photograph these items twice a year:
- Shingle edges at the eaves and rake. Look for curling, cracking, or missing shingles. Curling at the edges means the shingle has lost its bond and will lift in the next wind event. Date each photo. Compare spring photos to fall photos, and year over year.
- Flashing at roof penetrations. Flashing is the metal material that seals the joints where something pokes through the roof: chimney, vent pipe, skylight, furnace flue. Look for gaps, lifted edges, or exposed sealant that’s cracked and gray. Photograph each penetration individually.
- Drip edge along the roofline. Drip edge is the metal strip at the roof perimeter that directs water into the gutter instead of behind it. If it’s bent, rusted, or pulled away from the fascia board, water gets behind the gutter and rots the wood underneath.
- Gutters and downspouts. Photograph from the ground before and after cleaning. Look for granules from asphalt shingles in the gutter. A thin dusting is normal for the first year or two. A thick accumulation means the shingles are wearing prematurely.
- Tile roof surfaces. If you have tile, look for cracked, broken, or displaced tiles. A single missing tile doesn’t usually cause an immediate leak, but it exposes the underlayment beneath, and the underlayment is what actually keeps water out. Underlayment degrades fast once exposed to UV.
- Roof valleys. Valleys are the V-shaped channels where two roof planes meet. They carry more water than any other part of the roof. Look for debris accumulation, exposed nails, or missing shingle pieces in the valley.
From the attic, inspect these items:
- Underside of the decking. Shine a flashlight across the wood surface. Water stains show as dark rings or discoloration. New stains are darker and feel damp. Old stains are lighter and feel dry but leave a water line. Photograph every stain, and mark it with a pencil date so you can tell if it’s growing.
- Insulation condition. Wet insulation compresses and loses its R-value. Run your hand over the top of the insulation in several spots. If it feels damp or matted down, something above it is leaking.
- Nail penetrations. When a roof is installed, nails from the shingles penetrate through the decking and are visible from the attic. They should be straight and rust-free. Rusted nail ends mean moisture is reaching the nails from above. That’s an early warning sign that leaks are about to start even if you don’t see water yet.
- Light penetration. With the attic lights off, check for daylight coming through the roof deck. You shouldn’t see any. If you see light at a seam or penetration, water will follow it.
- Ventilation. Check that intake vents at the eaves and exhaust vents near the ridge are not blocked by insulation. A hot attic shortens shingle life and raises cooling costs. In Los Angeles, heat is the number one roofing material killer, not rain.
- Rodent signs. Look for droppings, nesting material, or holes chewed at the roof edge. Rodents enter through gaps at the eave and can do visible damage to wood and wiring in a single season.
The Triage System: Cosmetic, Functional, Urgent
Every finding from your inspection falls into one of three categories. The skill isn’t spotting problems. The skill is knowing which problems matter and how fast to act on them. Here’s the system we use when we walk a roof in Los Angeles, and it’s the same one you should use from the ground.
Cosmetic: Monitor
Cosmetic issues don’t affect water resistance or structural integrity. Examples: minor moss or algae growth on shingles (common in shaded Los Angeles canyons), light surface rust on a pipe boot that hasn’t cracked through, slight granule loss on an older shingle roof that hasn’t exposed the fiberglass mat. These items go in your monitoring log with a dated photo. Check them again at the next inspection. If they haven’t changed in two cycles, note that too. If they’ve progressed, they move up a tier.
Functional: Schedule Repair Within 90 Days
Functional issues are in the early stages of failing but haven’t caused active leaks yet. Examples: one or two missing shingles after a wind event, cracked but still seated tile, flashing that’s lifted at one edge but not torn, a clogged valley, a rusted pipe boot that’s starting to separate from the vent pipe. These items will leak eventually, and the timeline compounds the longer they wait. A lifted flashing edge might stay dry for months, then one wind-driven rain pushes water under it and into the attic. Schedule the repair on your calendar within 90 days. In our experience, the homeowners who call us for functional repairs are the ones who spend $400 instead of $4,000. The homeowners who wait are the ones spending $4,000. For help identifying issues early, see our guide to Roof Repair Warning Signs Every Homeowner Should Know.
Urgent: Call Within Two Weeks
Urgent items are actively leaking or about to. Examples: water stains in the attic or on the ceiling that are damp to the touch, daylight visible through the roof deck, missing flashing entirely at a chimney or vent, multiple missing shingles in a single area, sagging decking, or any roof penetration that’s visibly gaping open. Call a roofer within two weeks, and if rain is in the forecast, call sooner and tarp or bucket the area in the meantime. These are not DIY repairs. Water is already finding its way in, or the structure is damaged. The bill only grows from here. For guidance on diagnosing these issues, read Roof Repair Troubleshooting: Common Problems and How to Fix Them.
Post-Storm Protocol: Santa Ana Wind Events
Santa Ana winds are the single most damaging weather event for Los Angeles roofs. They arrive from the northeast, blowing dry air down through the passes at sustained speeds that regularly exceed 40 mph with gusts to 70 or higher. That wind direction is the problem. Los Angeles roofs are built for weather that comes from the ocean, from the west and southwest. Santa Ana winds hit the roof from the opposite direction, lifting shingles and tiles against their lap pattern. Water follows later, at the next rain, through the openings the wind created.
After any Santa Ana event where gusts topped 40 mph in your neighborhood, do a post-storm inspection within 48 hours. Here’s the protocol:
- Walk the perimeter of the house and photograph the roofline. Look for anything out of place: lifted shingle edges, missing tiles, displaced ridge caps. Compare with your previous photos. The wind damage is almost always visible from the ground at the eaves and edges, where lift pressure is highest.
- Check the yard and driveway for roofing material. Find shingles, tiles, or metal flashing on the ground, then trace them to where they came from. A single shingle in the backyard is not “nothing” – it tells you exactly where the roof is now open.
- Inspect the attic for new daylight or water stains. Wind-driven damage doesn’t always show water immediately. Check for light penetration and displaced insulation, which often signals that the roof deck has flexed and broken the seal at a penetration.
- Photograph tile roofs from both gable ends. Tile rides differently than shingle in high wind. It can lift and drop, cracking the edge of a tile without moving it visibly. Look for hairline cracks at tile edges, which will let water in during the next rain.
- Mark and date everything. If you find damage, photograph it, write a description in your repair log, and schedule a professional inspection. Most insurance claims for wind damage in Los Angeles are denied because the homeowner waited too long to document the damage. Photographing within 48 hours matters.
One item that requires a roofer’s eyes after a Santa Ana event: the lap joints on any roof surface, shingle or tile. Wind lifts the laps, breaks the seal, and sets them back down. From the ground, the roof looks fine. From the surface, the laps are loose and will fail at the next rain. If your roof is over 10 years old or you found any material on the ground, schedule a roof inspection in Los Angeles after the wind dies down.
Building a Repair Log That Protects Your Warranty
Most warranties, from both manufacturers and contractors, have language requiring the homeowner to maintain the roof. If you file a claim and can’t show maintenance records, the warranty can be denied even if the failure was a covered defect. A repair log is your insurance policy against that denial.
Here’s how to build one in 15 minutes, and keep it simple enough to actually maintain:
- Create a folder, digital or paper. If digital, a shared folder on your phone or computer with subfolders by year. If paper, a three-ring binder with page protectors. Either works. The system doesn’t need to be beautiful. It needs to exist.
- Log every inspection with three things. The date, what you found (even if nothing), and the photos. Write “No change” when nothing has changed. That’s a record too. A log that shows regular “no change” entries is stronger evidence than a log that only records problems.
- Log every repair. Include the repair date, the contractor’s name and license number, what was repaired, what materials were used, and the invoice. Keep the invoice in the same folder. If a repair fails, you need to be able to show what was done, by whom, and when.
- Log every warranty document. Keep the manufacturer’s warranty for the roofing material and the contractor’s workmanship warranty in the same place. The Brennan Roofing home page explains our warranty in plain English: it’s written, it covers one full year, and it includes a free return visit if the repair fails.
- Log every call, in writing. If you call a roofer about a leak, follow up with an email summarizing the call. Date, time, what was discussed, what was promised. This creates a paper trail that matters if the roofer’s work fails and you need to enforce the warranty.
In our experience, fewer than 10% of Los Angeles homeowners keep a repair log. The ones who do get warranty claims approved faster. They also get a better price when they sell the house, because a documented roof history is a selling point for buyers who’ve been burned by surprise roof replacements.
Maintenance After a Roofer Has Done Work
A roof repair isn’t the end of the maintenance cycle. It’s the start of the next one. After any repair, there are specific maintenance items that extend the life of the repair and the roof around it. These are the items we tell our customers after we finish a job in Los Angeles:
- Keep drains and gutters clear. This is the single highest-value maintenance habit. A repaired roof with clear drainage outperforms a new roof with clogged drains. In Los Angeles, eucalyptus leaves and pine needles accumulate fast, and gutter guards help but don’t eliminate the need to check valleys and drain openings.
- Reseat displaced tiles after wind events. If you have a tile roof, check after every wind event over 30 mph. A single displaced tile exposes the underlayment to UV, and the underlayment fails in months, not years. Reseating a tile is a five-minute fix. Replacing the underlayment is a roof section job.
- Recoat elastomeric surfaces on schedule. If you have a flat or low-slope section with an elastomeric coating, it has a defined service life, usually 5 to 10 years depending on the product. When the coating starts to chalk, thin, or bubble, it’s time to recoat. Waiting until it cracks through means water gets into the seams below, and the repair costs three times as much.
- Check sealant at all penetrations annually. Even if a roofer re-sealed every pipe boot and flashing edge, sealant doesn’t last forever. Solar UV in Los Angeles breaks down sealant in 3 to 7 years. Once it’s cracked and gray, it’s no longer sealing. A $15 tube of sealant applied correctly on a cool morning extends the repair life by years.
- Keep roof traffic to zero. Every footfall on an asphalt shingle roof grinds granules into the surface and shortens the shingle life. We don’t walk on roofs unnecessarily. You shouldn’t either. If someone needs to be on the roof for gutters, solar, or an HVAC install, have them use walking boards or roof ladders, and photograph the work area before and after.
Common Mistakes to Avoid
- Inspecting only from the ground and never going in the attic. Half of the failures we find on Los Angeles roofs are only visible from underneath: wet decking, rusted nail ends, failing underlayment. If you’re not doing the attic portion, you’re missing half the data.
- Waiting until a leak shows on the ceiling. Interior ceiling stains are the last symptom, not the first. By the time water reaches the drywall, it has already saturated the insulation and decking above. The repair cost at that point is typically 5 to 10 times what it would have been if caught at the nail-rust or damp-insulation stage.
- Ignoring granule loss in gutters. Asphalt shingles naturally shed some granules, but heavy accumulation means the shingles are aging faster than they should. That’s a sign to schedule an inspection, not to wait for a shingle to blow off in the next Santa Ana event.
- Treating Santa Ana wind damage as a one-time event. Wind damage accumulates. The first event lifts the shingle laps and weakens the seal. The second event tears them off. Document every event, even if you don’t see immediate damage on the ground.
- Clearing gutters by walking on the roof. Walking on shingles to access gutters causes damage that costs more than the gutter cleaning saves. Use a ladder from the side, or hire it out. We’ve repaired more shingles damaged by ladder-on-roof gutter cleaning than by any weather event.
- Letting a small leak ride because it’s in the garage. Garages and patios don’t have finished drywall above them, so leaks there stay invisible longer. But the water still soaks the decking, and decking rot spreads sideways. By the time you see it in the garage, the rot may already span two or three rafters.
When to Call a Professional
Call a roofer if your inspection turns up any urgent-tier finding, any functional-tier item you can’t identify clearly, or any water stain in the attic you can’t trace to a known source. Also call after a Santa Ana event if you found roofing material on the ground or your roof is over 10 years old and hasn’t been professionally inspected in the last two years. A professional inspection catches the lap damage and seal failures that ground-level checks miss. Brennan Roofing offers roof repair in Los Angeles with free estimates – call (361) 320-9467 and we’ll put a written price in your hand before any work starts.
Frequently Asked Questions
Twice a year at minimum – once in early October before the rainy season and once in early April after it ends. Add a post-storm inspection after any Santa Ana wind event with gusts over 40 mph. If you have a tile roof, add a late-summer check for heat-related cracking. Each inspection takes 30 to 45 minutes and most of it happens from the ground and attic, not on the roof surface.
Small repairs in Los Angeles run $250 to $600 for items like reseating a tile, replacing a section of flashing, or sealing a pipe boot. Mid-range repairs run $600 to $1,500 for multiple shingle replacements, valley repairs, or flashing at a chimney. Structural repairs involving decking replacement run $4 to $8 per square foot on top of the repair above it – that’s why triage matters. Call (361) 320-9467 for a written estimate on any specific repair.
Yes, for inspection and basic maintenance like gutter cleaning, debris removal, and photographing problem areas. No, for repairs involving shingle replacement, flashing, sealant at penetrations, or any work that requires walking on the roof surface. Most warranties require repairs to be done by a licensed contractor using approved materials. Document everything you do in your repair log, and leave the repair work to a Los Angeles roofing company that stands behind the work in writing.
Photograph the shingle edges at the eaves and rake, flashing at every roof penetration, drip edge along the roofline, gutters and downspouts, roof valleys, and any tiles that look displaced. From the attic, photograph any stains on the decking, rusted nail ends, damp insulation, and daylight penetration. Date every photo and store them in a folder by year. This photo record is your evidence for warranty claims and insurance.
A properly done repair using manufacturer-approved materials typically lasts 5 to 15 years, depending on the repair type and the condition of the surrounding roof. Sealant at penetrations lasts 3 to 7 years in Los Angeles UV exposure. Flashing repairs last 10 to 20 years. A repair done on a roof that’s nearing end of life is a stopgap, not a solution – we’ll tell you that honestly because the last thing we want is for you to pay twice. Every repair we do carries a one-year written guarantee, and we come back for free if it fails.
It depends on what caused the damage. Sudden events like wind, falling trees, or hail are typically covered, minus your deductible. Gradual wear, aging, and deferred maintenance are not covered. This is why documentation matters: insurance adjusters look for evidence that the damage was sudden and weather-driven, not gradual and maintenance-driven. Date-stamped photos from your inspections are the strongest evidence you can provide.
The Bottom Line
Roof repair costs scale with how long a problem sits. The maintenance schedule is not complicated: inspect twice a year, inspect after Santa Ana events, photograph everything, and triage every finding into monitor, repair within 90 days, or call within two weeks. Explore more guides & resources to keep your roof in top condition. The homeowners who follow this system spend hundreds on repairs. The ones who don’t spend thousands on replacements. Keep the repair log, keep the gutters clear, and keep any repair on a written estimate before work starts. That’s the whole game.
Written by Travis Oakley, Owner at Brennan Roofing, serving Los Angeles since 2000.